
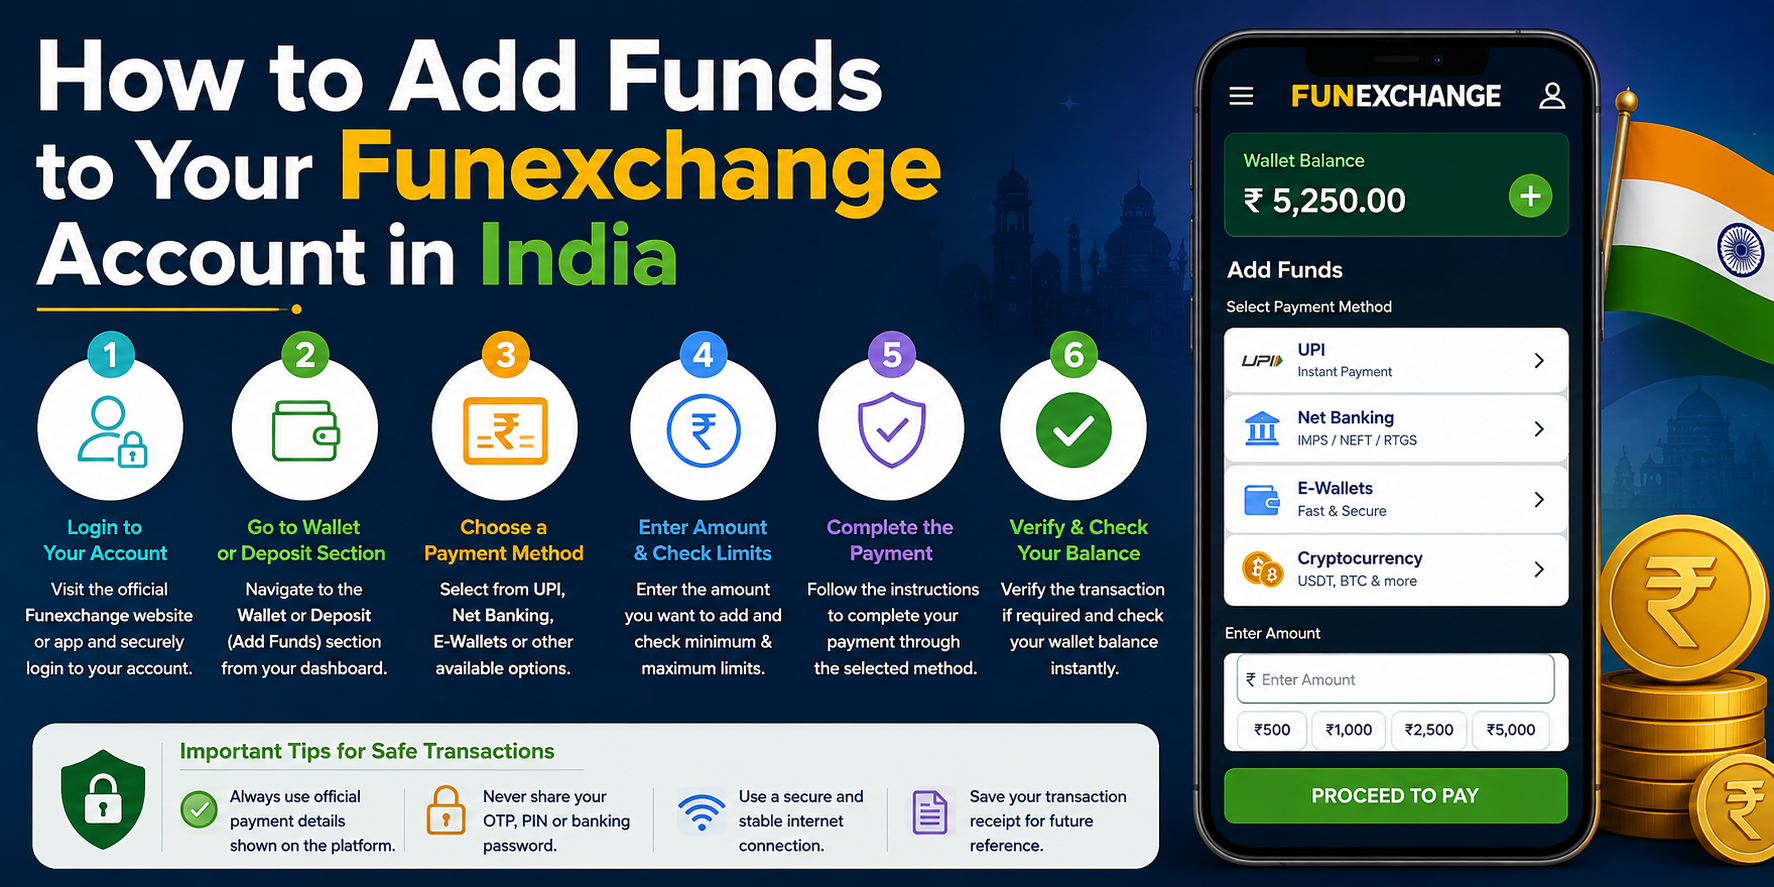
Adding money to an account can take a few steps especially when different payment methods, limits and verification rules are involved. Before sending any funds users should know how the payment process works and take care to protect their account and personal financial data.
If you are using Funexchange in India the guide below explains the steps to add money to your account starting from logging in to confirming the transaction.
Step 1: Open the Official Platform and Sign In
Before making a payment make sure you are on the real website or a verified app. Do not enter login or payment details on links from sources.
To log in:
Open your browser. Go to the site you usually use or open the official app.
Check the web address carefully before typing any information.
Click on “Login.”
Enter your username, email or mobile number along with your password.
Complete any verification like OTP if it is asked.
New users may need to create an account before they can use the wallet or payment features. Always provide information and read the platform’s terms and eligibility requirements.
Step 2: Find the Wallet or Deposit Section
After logging in look for the part of the account where you manage funds.
Go to your dashboard or profile menu.
Look for options like “Deposit,” “Add Funds ” “Add Money ” or “Wallet.”
Click on the option to open the payment page.
Read any instructions or alerts shown before starting the transfer.
Payment methods and instructions can change. So always use the details shown on the platform instead of relying on old information from a past transaction.
️ Step 3: Choose a Payment Method
The available payment choices depend on the platform and what is currently supported. Common options include:
UPI
In India UPI is very popular for payments. If supported the deposit page might show a UPI ID, a payment request or a QR code.
Net Banking
Some platforms allow transfers through your bank’s online banking system.
Digital Wallets
Where digital wallets let you send money without entering bank details each time.
Other Payment Options
Occasionally other payment types may appear on the deposit page. Check the channels, limits and any fees before choosing.
Pick a method that you own. Have permission to use.
Step 4: Enter the Amount. Review the Details
Once you pick a payment method input the amount you want to add to your account.
Follow these steps:
Type in the amount you want to deposit.
Check the maximum deposit limits displayed.
Look for any fees or charges applied.
See if the chosen method has steps.
If theres a promo offer read its terms and conditions before accepting.
Do not assume that bonuses, cashback or rewards come automatically. Offers often have rules about minimum amounts, expiry dates or other restrictions.
Step 5: Complete the Payment
After reviewing the amount and all payment details go ahead with the selected method.
Using UPI
If the platform gives a UPI ID or QR code open your UPI app and either type or scan the details. Before approving, double-check the recipient name and amount.
Using Net Banking
If bank transfer is an option follow the steps on the deposit page. Finish the payment via your bank’s official site or app.
Use Your Own Payment Account
For security and tracking only use a bank account, UPI account, card or payment method that belongs to you and that you are allowed to use.
Never share banking information. This includes your OTP, UPI PIN, card PIN, CVV, banking password or account password.
Step 6: Save the Transaction Reference
After completing the payment keep the transaction details until the money shows up in your account.
Depending on the method you may get a transaction ID, reference number or UTR (Unique Transaction Reference) from your bank or payment service.
It’s best to:
Save the payment confirmation.
Write down the transaction reference or UTR number.
Go back to the platform’s deposit page if you are asked to verify.
Enter the reference number in the correct field on the official site.
Check your wallet or transaction history for updates.
How long it takes for the deposit to appear depends on the payment method and any verification needed. If the payment stays pending after the expected time contact the platform through its support channel.
Important Safety Practices
When adding money to Funexchange in India a simple steps help reduce risks of errors or fraud.
Verify the Recipient
Before confirming any transfer check the UPI ID account details, recipient name and amount in your payment app.
Use Updated Payment Details
Don’t reuse info. Always check the instructions on the deposit page every time you start a new transaction.
Avoid Third-Party Payments
Use a payment account that belongs to you. Payments from someone ’s account can cause delays or verification problems.
Protect Sensitive Information
Your OTP, UPI PIN, password, CVV and card PIN must stay private. Real support staff will never ask for these details during a normal payment.
Keep Transaction Proof
Save your receipt and transaction reference until the amount appears in your account.
Use a Reliable Connection
Whenever possible do financial transactions on trusted networks. Avoid entering banking details on Wi-Fi or unsecured connections.
Check Local Requirements
Rules about online gaming, betting and similar services vary by location. Before depositing, check laws the platform’s terms and what you are eligible to do.
Final Thoughts
Adding money to a Funexchange account, in India generally follows steps: sign in go to the wallet or deposit section choose a payment method enter the amount complete the payment and track the status.
The important points are to confirm payment details before sending money use your own authorized payment method keep your banking secrets safe and hold onto transaction records until the deposit is fully processed.